As a driver, certain skills are necessary regardless of your status, such as changing a tire. While it's not desirable, it will save you in unexpected situations. Fortunately, changing a tire is not hard. You can learn it in just a few minutes by watching an expert, or someone experienced doing it. Flat tires can happen anywhere, so you should always be prepared with the right tools or equipment.
Tools Needed to Change a Tire
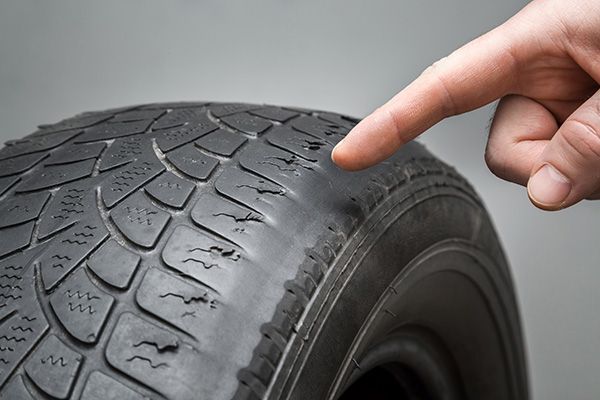
Every time you drive, especially for long distances, ensure you check the state of your car and that you have the recommended tools for an emergency. For the tires, check the pressure, including that of the spare. Here are the tools you will need to change a tire.
- Spare tire
- Jack
- Wrench
- Vehicle owner's manual
- Flashlight with fresh and extra batteries
- Gloves
- Raincoat or poncho
- Wheel wedge
- A piece of wood, preferably 2x6, to secure the jack
Once you verify you have all these tools, ensure you use the owner's manual for the specific steps. Also, make sure you always have these items stored in your car. If it's your first time changing a car tire, you can follow these steps. However, always consult an expert where possible.
How to Change a Tire
Step 1. Get to a safe spot
Pullover to a safe place or carefully drive until you identify one. Don't try to change a tire in a narrow area or near oncoming traffic. Also, make sure you are on level ground with a wide shoulder.
Step 2. Notify other drivers
You can do this by turning on your hazard lights and a fluorescent orange sign placed behind your vehicle where it's visible to other drivers.
Step 3. Engage your parking brake
This prevents your car from the possibility of rolling while changing the tire.
Step 4. Place the wheel blocks or wedge
While changing the front tires, place the wedges on the rear tires. If it's the rear tires, place the blocks on the front tires. However, if you don't have a wedge, you can use big rocks. But you may not always find big rocks, so ensure you have a wedge. It prevents your car from rolling.
Step 5. Take off the wheel cover and loosen the lug nuts
If you have a wheel cover remove it and loosen the lug nuts before lifting it with a jack. You can use the flat end of the lug wrench to remove the hubcap.
Step 6. Place the jack under the vehicle and raise it
Make sure it's under your car's frame on the flat tire's side. Use the cut wood to keep it stationary. Lift your vehicle until the flat tire is about six inches off the ground. Also, don't go under the car during the process.
Step 7. Unscrew the lug nuts and remove the tire
Since you loosened the nuts, please remove them and the tire now.
Step 8. Mount the spare tire and restore the lug nuts
Lineup the tire ream with the lug bolts, and once fitted, fix the lug nuts and tighten them by hand.
Step 9. Lower the vehicle and tighten the lug nuts
Remove the cut-wood and lower the jack until the spare tire rest on the ground. Use the wrench to tighten the lug nuts as much as possible using your whole body weight.
Step 10. Replace the hubcap and store your equipment
Please pick up your tools and put them in your car after replacing the hubcap when the vehicle is fully lowered. Check the spare tire's pressure, and if it's okay, resume driving.
This may appear like a long process, but usually, it takes about five to 45 minutes, depending on the number of tires. Remember to bring your car to our auto repair shop today if you need remarkable tire repair and other vehicle services.